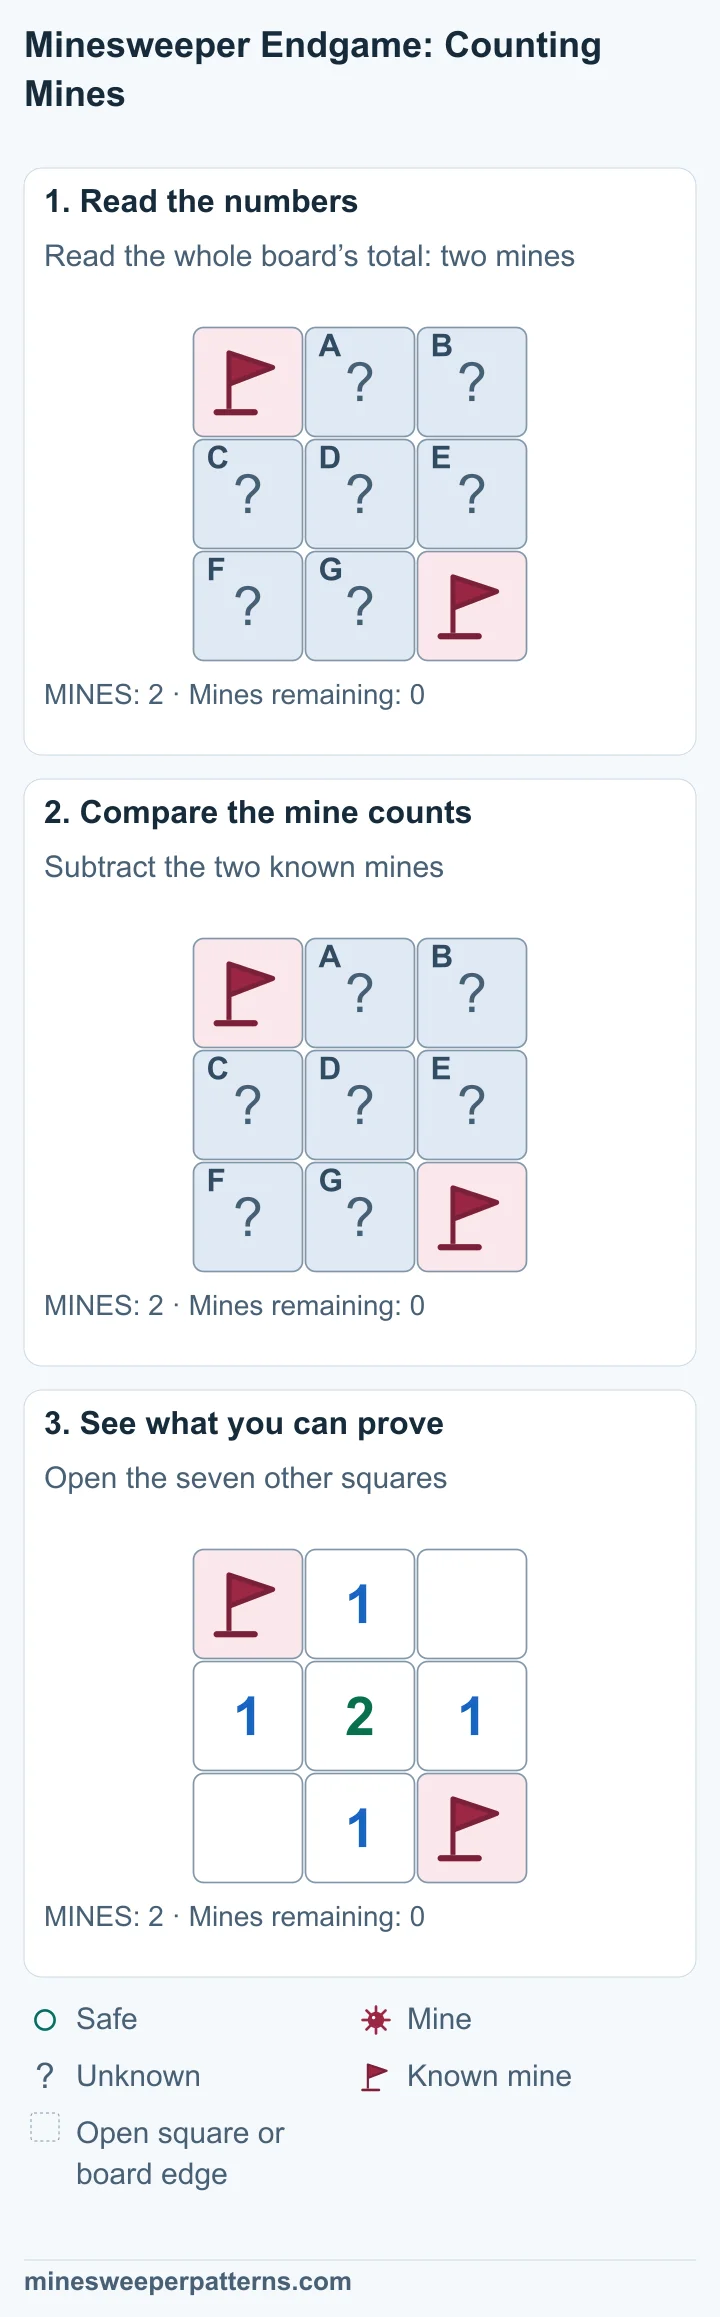
Near the end of the game, check the total mine count. Subtract the mines you already know across the whole board. The result is the number still to find.
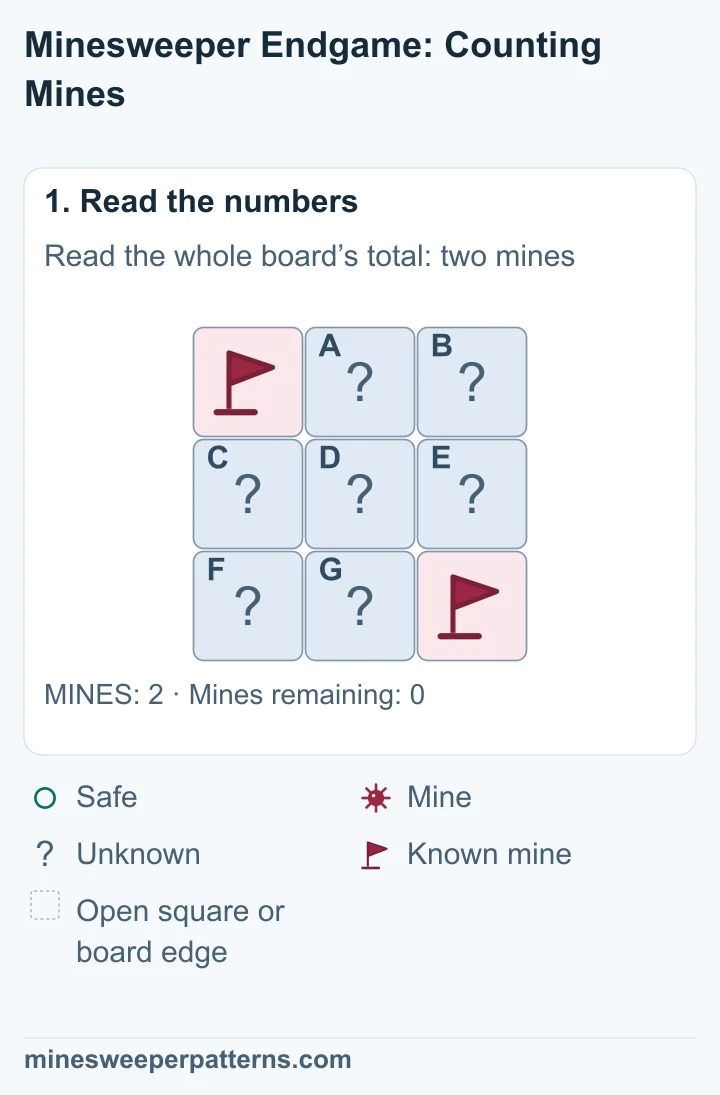
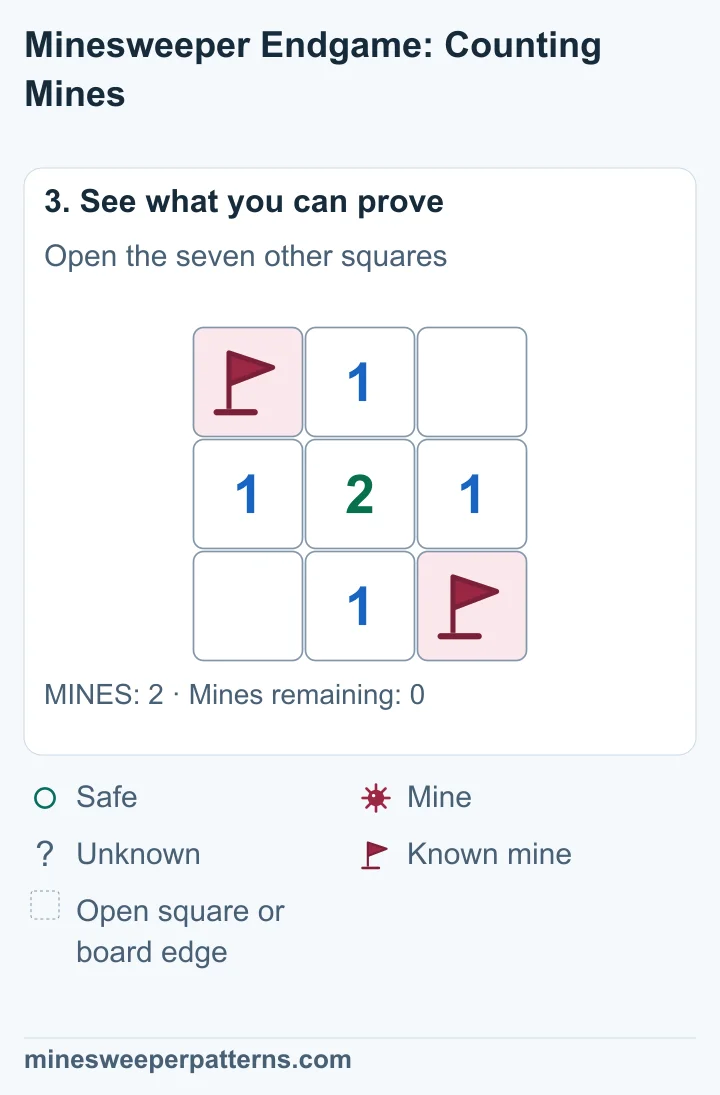
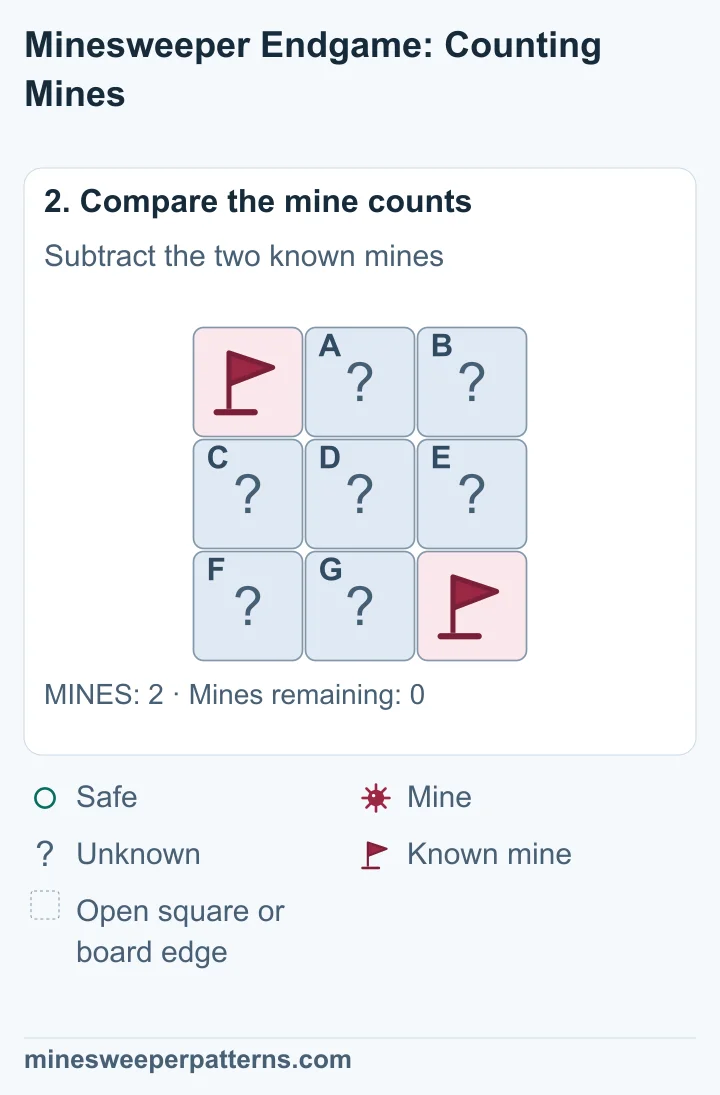
This whole 3 × 3 board has 2 mines. Both are known mines, marked with flags in opposite corners. With no mines left to find, the other seven squares are safe.
Before
After
Why it works
A third mine would exceed the total of 2. Open the seven safe squares to win. Winning means opening every safe square. Flags are optional.
The rule
Subtract known mines from the total mine count. If none remain, every other covered square is safe. If 3 mines remain and only 3 squares are unknown, all 3 have mines. The same rule works for other counts.
What to check
Use the total for the whole board. Count every unknown square, even those far away. The display subtracts flags from the total. Check each flagged mine with the numbers before using that display to find a safe square.
Count what remains, then check for a real 50/50
Use the whole board: total mines − proved mines = mines still to find. With zero left, all other covered squares are safe. If the number left equals the number of unknown squares, each unknown square has a mine. One mine in two squares can still leave both unknown. First look elsewhere on the board for a number that separates the two possibilities. A true 50/50 has two symmetric possibilities, with the mine in either square and no clue to distinguish them. Some randomly generated boards need a guess. The mine total alone does not assign an exact chance to other unresolved groups.
Read the board, then choose
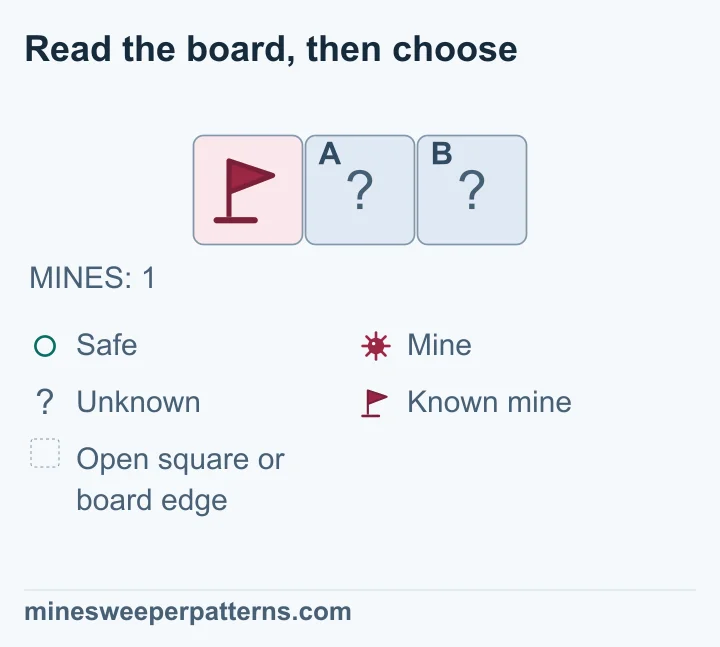
This example shows the whole board still to solve. All mines are known and flagged. With zero mines left to find, every other covered square is safe.
Total mines on this board: 1
⚑AB
Choose a covered square. Then decide whether it is safe, has a mine, or needs more information.
Why this answer is correct
A: Safe · B: Safe
The shown covered squares are the only unknown squares around these numbers. Gaps stand for open squares or the board edge. Check every nearby square before you apply the result. Flags in these examples mark known mines.
Read the board, then choose
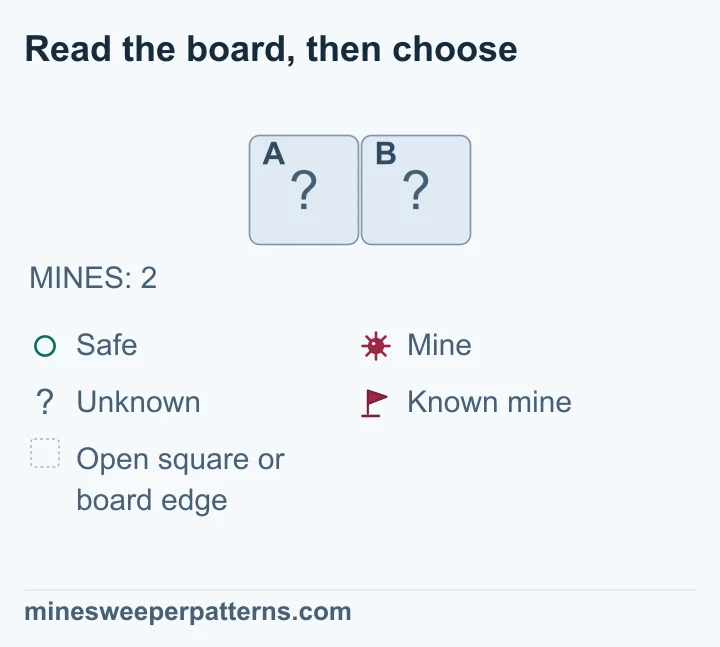
This example shows the whole board still to solve. Two mines remain, and only two squares are unknown. Both squares have mines.
Total mines on this board: 2
AB
Choose a covered square. Then decide whether it is safe, has a mine, or needs more information.
Why this answer is correct
A: Mine · B: Mine
The shown covered squares are the only unknown squares around these numbers. Gaps stand for open squares or the board edge. Check every nearby square before you apply the result. Flags in these examples mark known mines.
Read the board, then choose
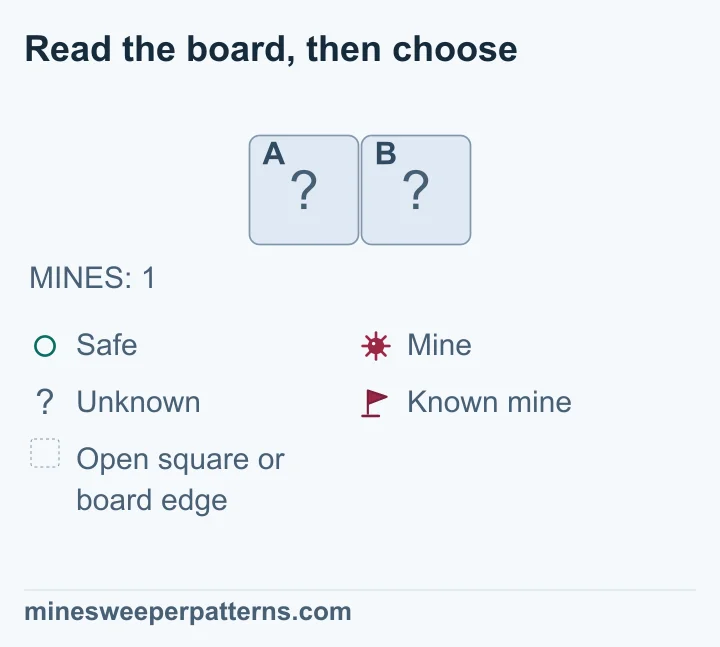
This example shows the whole board still to solve. One mine remains in two covered squares, with no other useful number. Either square could hold the mine. The total leaves both squares unknown.
Total mines on this board: 1
AB
Choose a covered square. Then decide whether it is safe, has a mine, or needs more information.
Why this answer is correct
A: Not enough information · B: Not enough information
The shown covered squares are the only unknown squares around these numbers. Gaps stand for open squares or the board edge. Check every nearby square before you apply the result. Flags in these examples mark known mines.
Privacy
Your game records stay in this browser on this device.