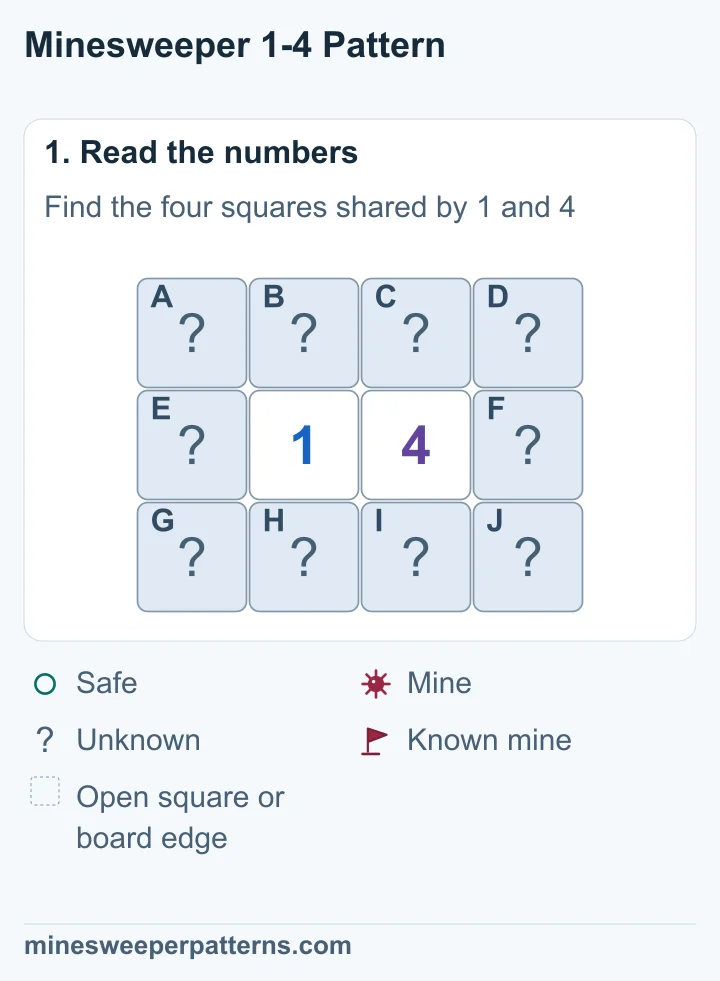
A one-page guide to the patterns. A ? marks an unknown square. Gaps stand for open squares with their numbers left out. Flags mark known mines.
If all the mines around a number are known, its other nearby squares are safe. Subtract known mines first. If the mines still needed equal the unknown squares left, each of those squares has a mine.
○ Safe · ✱ Mine · ? Unknown · ⚑ Known mine
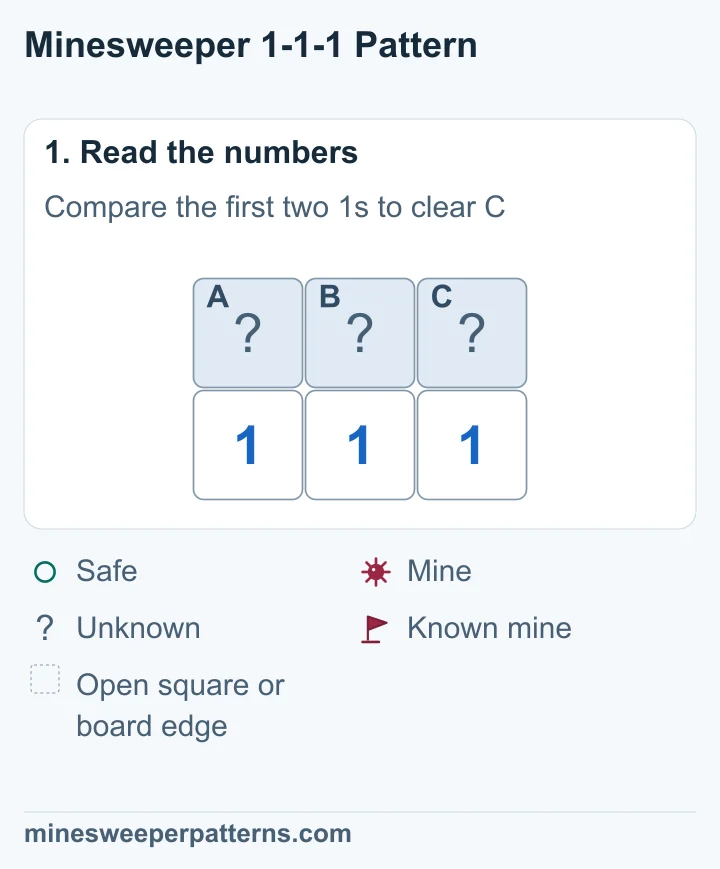
Minesweeper 1-1 Pattern
???11
→
??○11
The two 1s count the same mine. The extra square beside the second 1 is safe.
What to check
The shown covered squares are the only unknown squares around these numbers. Gaps stand for open squares or the board edge. Check every nearby square before you apply the result. Flags in these examples mark known mines.
Check every square around both numbers, including the corners. The covered squares must match this example. First subtract any known mines from the numbers they touch.
The 2 needs one more mine. Its extra square has that mine.
What to check
The shown covered squares are the only unknown squares around these numbers. Gaps stand for open squares or the board edge. Check every nearby square before you apply the result. Flags in these examples mark known mines.
Check every square around both numbers, including the corners. The covered squares must match this example. First subtract any known mines from the numbers they touch.
With only these three squares unknown, both ends have mines and the middle is safe.
What to check
The shown covered squares are the only unknown squares around these numbers. Gaps stand for open squares or the board edge. Check every nearby square before you apply the result. Flags in these examples mark known mines.
Check every square around each number, including the corners and the other side. A, B and C must be the only unknown squares. Subtract any known mines from the numbers they touch. Apply the pattern when the remaining counts are 1-2-1.
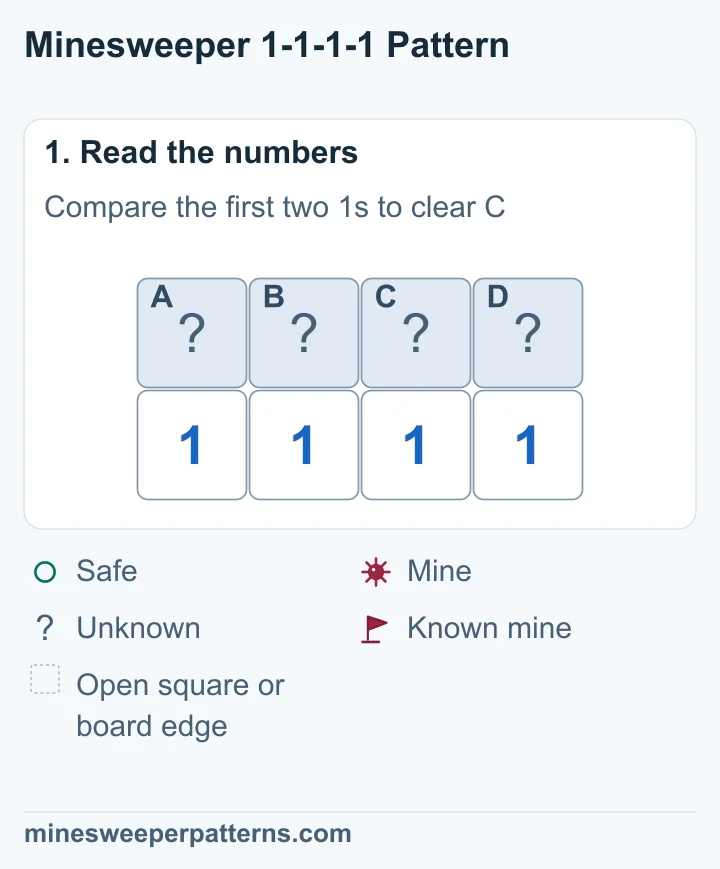
With only these four squares unknown, the middle two have mines and both ends are safe.
What to check
The shown covered squares are the only unknown squares around these numbers. Gaps stand for open squares or the board edge. Check every nearby square before you apply the result. Flags in these examples mark known mines.
Check every nearby square, including the corners and the other side. A, B, C and D must be the only unknown squares. Subtract any known mines from the numbers they touch. Apply the pattern when the remaining counts are 1-2-2-1.
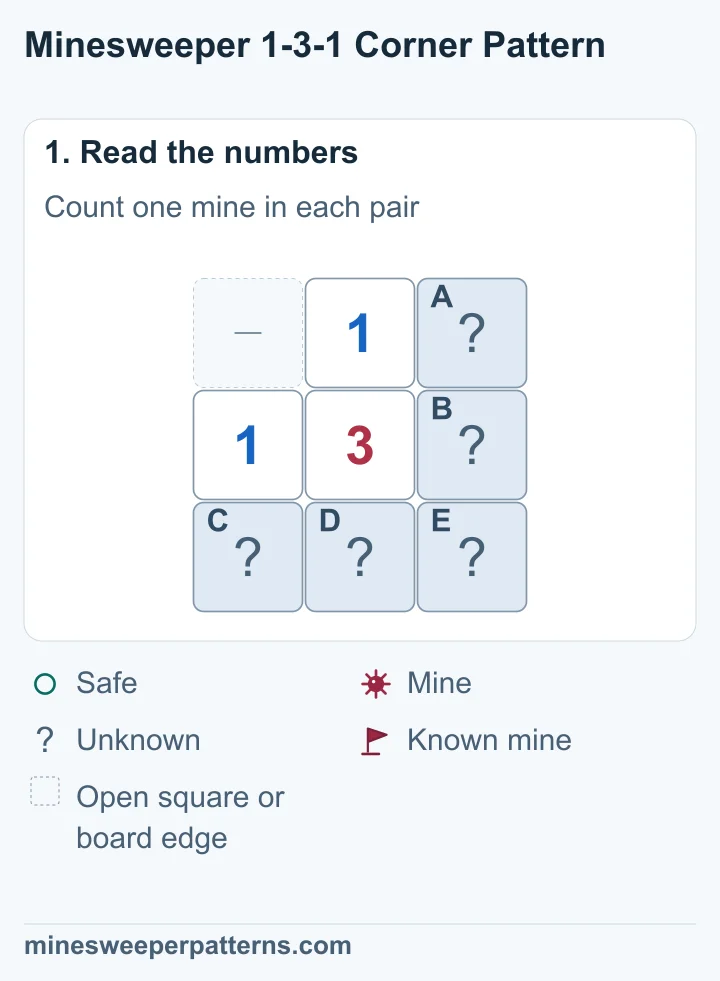
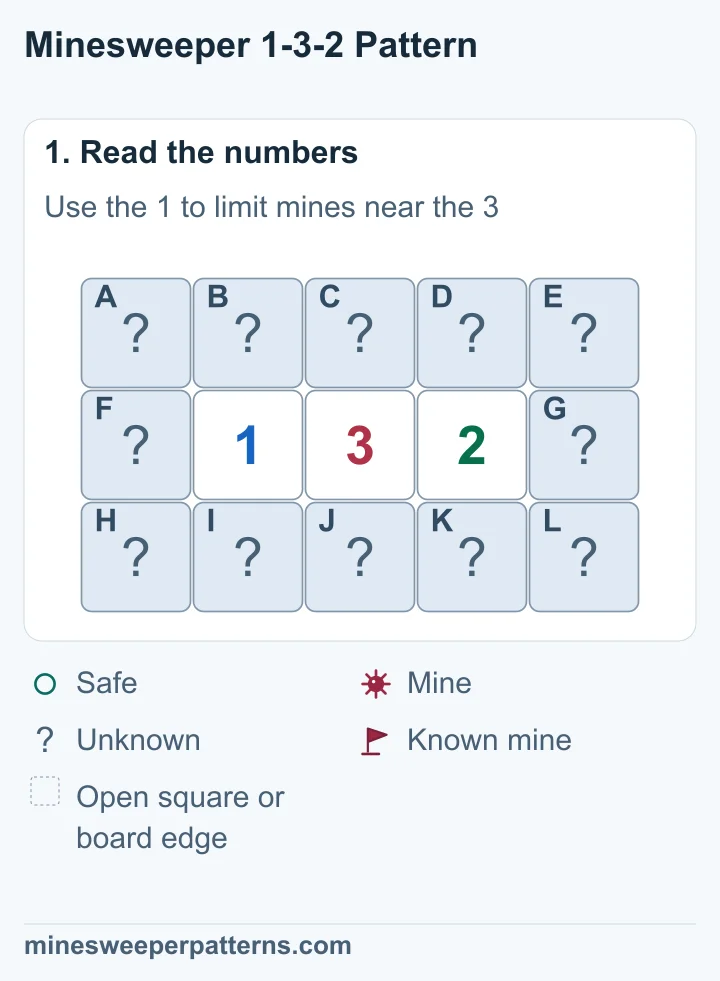
Subtract the known mine marked by the flag. This turns 2–3–2 into 1–2–1. Both outer covered squares have mines, and the middle is safe.
What to check
The shown covered squares are the only unknown squares around these numbers. Gaps stand for open squares or the board edge. Check every nearby square before you apply the result. Flags in these examples mark known mines.
Count known mines for each number. Include a mine only if it touches that number. Check all unknown squares, including the corners. Count a flag as a known mine once the numbers prove it.
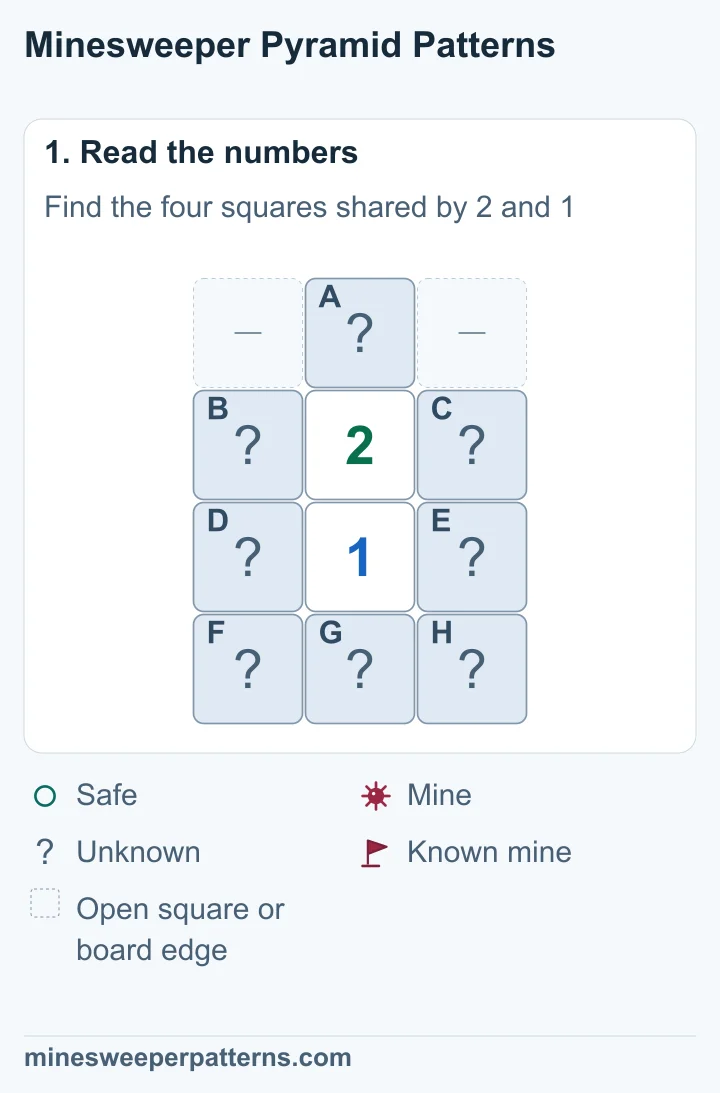
The extra covered square beside the right 1 changes what you can prove. Check every square around the numbers before you apply a pattern.
What to check
The shown covered squares are the only unknown squares around these numbers. Gaps stand for open squares or the board edge. Check every nearby square before you apply the result. Flags in these examples mark known mines.
Include the corners when you compare the groups. Every square in the smaller group must also be in the larger group. Count mines that the numbers prove. You can find a safe square while some mine locations are still unknown.
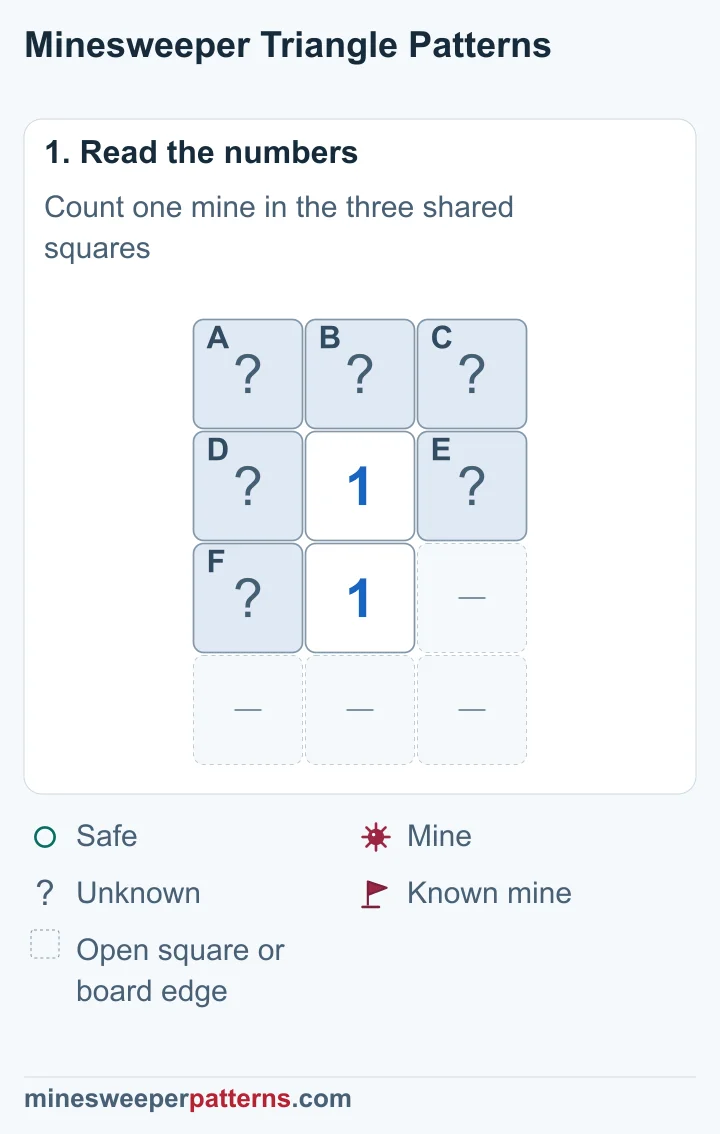
Both 1s touch the same two covered squares. Either square could hold the mine. The numbers leave both squares unknown.
What to check
The shown covered squares are the only unknown squares around these numbers. Gaps stand for open squares or the board edge. Check every nearby square before you apply the result. Flags in these examples mark known mines.
Include the corners when you compare the groups. Every square in the smaller group must also be in the larger group. Count mines that the numbers prove. You can find a safe square while some mine locations are still unknown.
In this row of five covered squares, the middle and both far ends have mines. The two squares between them are safe.
What to check
The shown covered squares are the only unknown squares around these numbers. Gaps stand for open squares or the board edge. Check every nearby square before you apply the result. Flags in these examples mark known mines.
Include the corners when you compare the groups. Every square in the smaller group must also be in the larger group. Count mines that the numbers prove. You can find a safe square while some mine locations are still unknown.