Minesweeper 1-1 Pattern

Compare two 1s to find a safe square. You can make a safe move before you know where the mine is.

See the pattern step by step
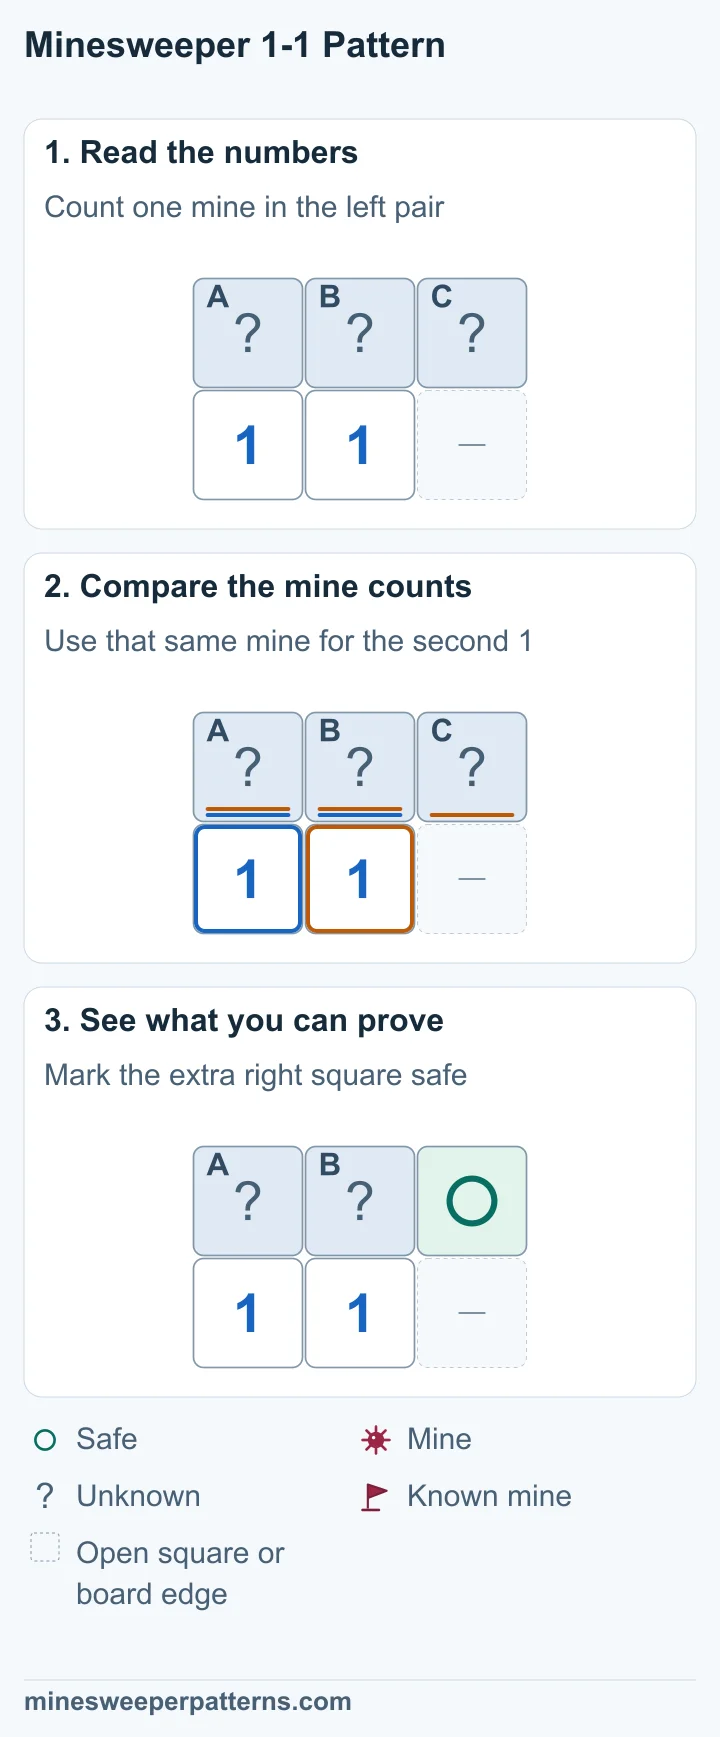
Three covered squares, A, B and C, sit above two 1s. The left 1 touches A and B. The second 1 touches A, B and C. A + B = 1 and A + B + C = 1. The two counts use the same mine, so the extra square C holds no mine. The rightmost covered square, C, is safe. A and B remain unknown and hold one mine between them.
Download image

Board example

A and B hold one mine. A, B and C also hold one mine.

Before
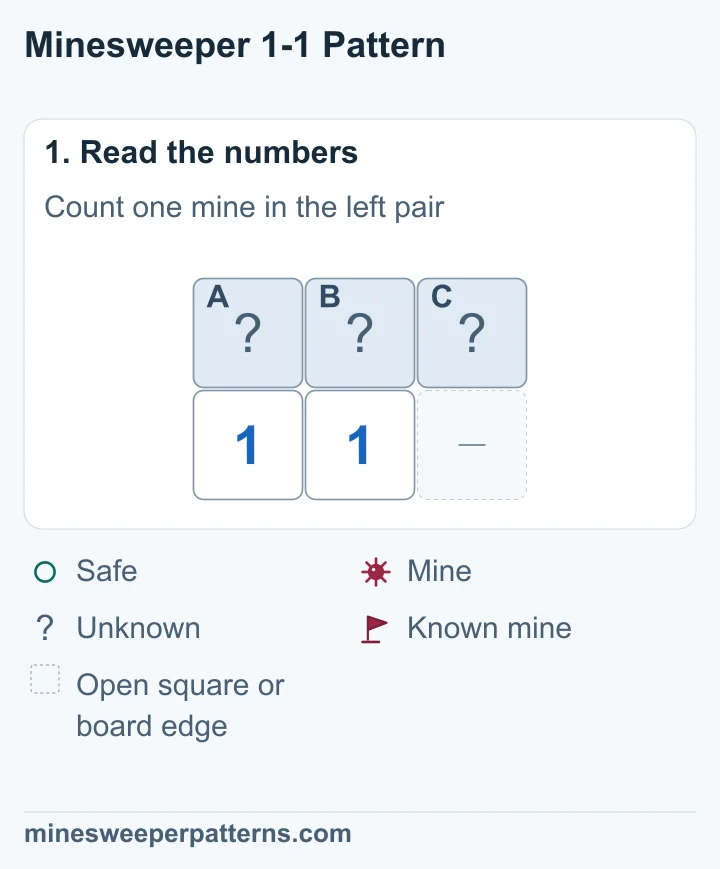
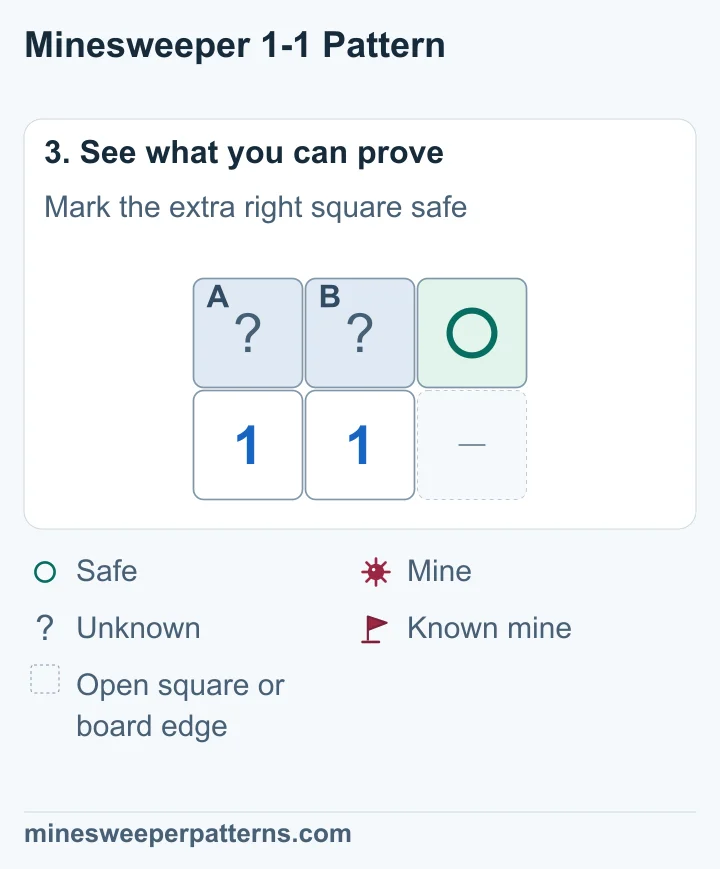
Three covered squares, A, B and C, sit above two 1s. The left 1 touches A and B. The second 1 touches A, B and C.

After

The rightmost covered square, C, is safe. A and B remain unknown and hold one mine between them.

Why it works

The mine in A or B supplies the one mine counted by each 1. So C is safe. Either A or B could hold the mine.
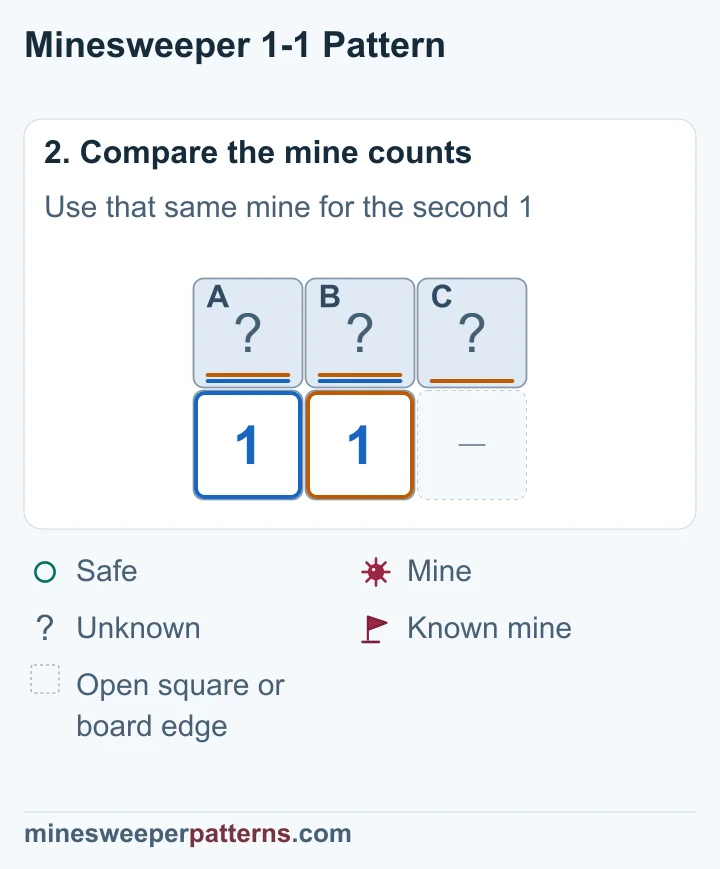
A + B = 1 and A + B + C = 1. The two counts use the same mine, so the extra square C holds no mine.

The rule

A, B and C are the only covered squares around these numbers. The left number touches A and B. The right number touches A, B and C. The lower-right square is already open and is left out of the picture.

What to check

Check every square around both numbers, including the corners. The covered squares must match this example. First subtract any known mines from the numbers they touch.

An extra square changes the answer

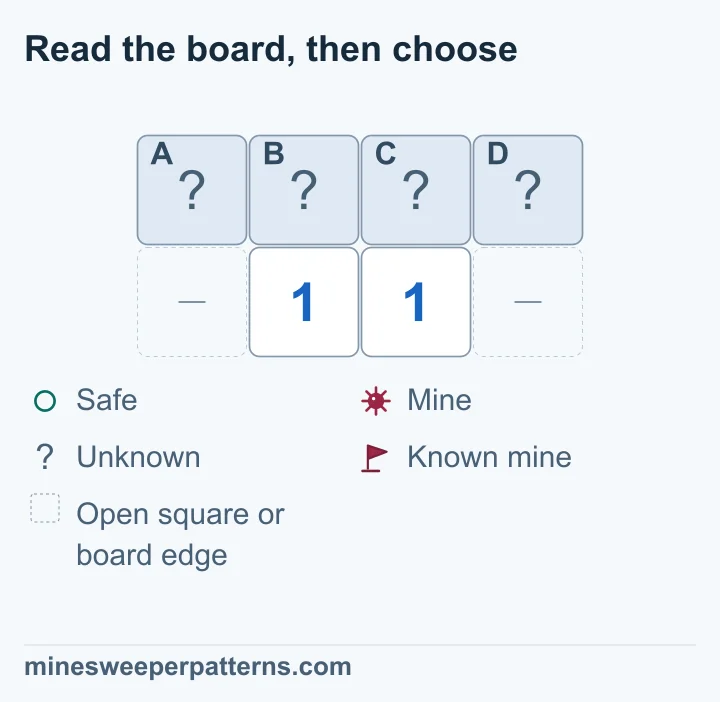
Move the two 1s inward so they sit below B and C in a row of four covered squares, A through D. The left 1 now gives A + B + C = 1. The right 1 gives B + C + D = 1. Subtracting gives A = D. Both outer squares can have mines, or both can be safe. These clues leave all four squares unknown. Compare which squares each clue touches before you apply 1-1.

Try this pattern

Use the numbers to choose your next move. Include the corners when you count. Squares outside the picture are open. Each flag marks a known mine.

Select every square you can prove safe.

11

See why

The mine in A or B supplies the one mine counted by each 1. So C is safe. Either A or B could hold the mine.
Read the board, then choose

Move the two 1s away from the edge, and another covered square touches them. Now A + B + C = 1 and B + C + D = 1. Subtracting gives A = D. Both could be mines, or both could be safe.

Move the two 1s away from the edge, and another covered square touches them. Now A + B + C = 1 and B + C + D = 1. Subtracting gives A = D. Both could be mines, or both could be safe.

Choose a covered square. Then decide whether it is safe, has a mine, or needs more information.

A
B
C
D
Why this answer is correct

A: Not enough information · B: Not enough information · C: Not enough information · D: Not enough information

The shown covered squares are the only unknown squares around these numbers. Gaps stand for open squares or the board edge. Check every nearby square before you apply the result. Flags in these examples mark known mines.

Privacy

Your game records stay in this browser on this device.