See the pattern step by step
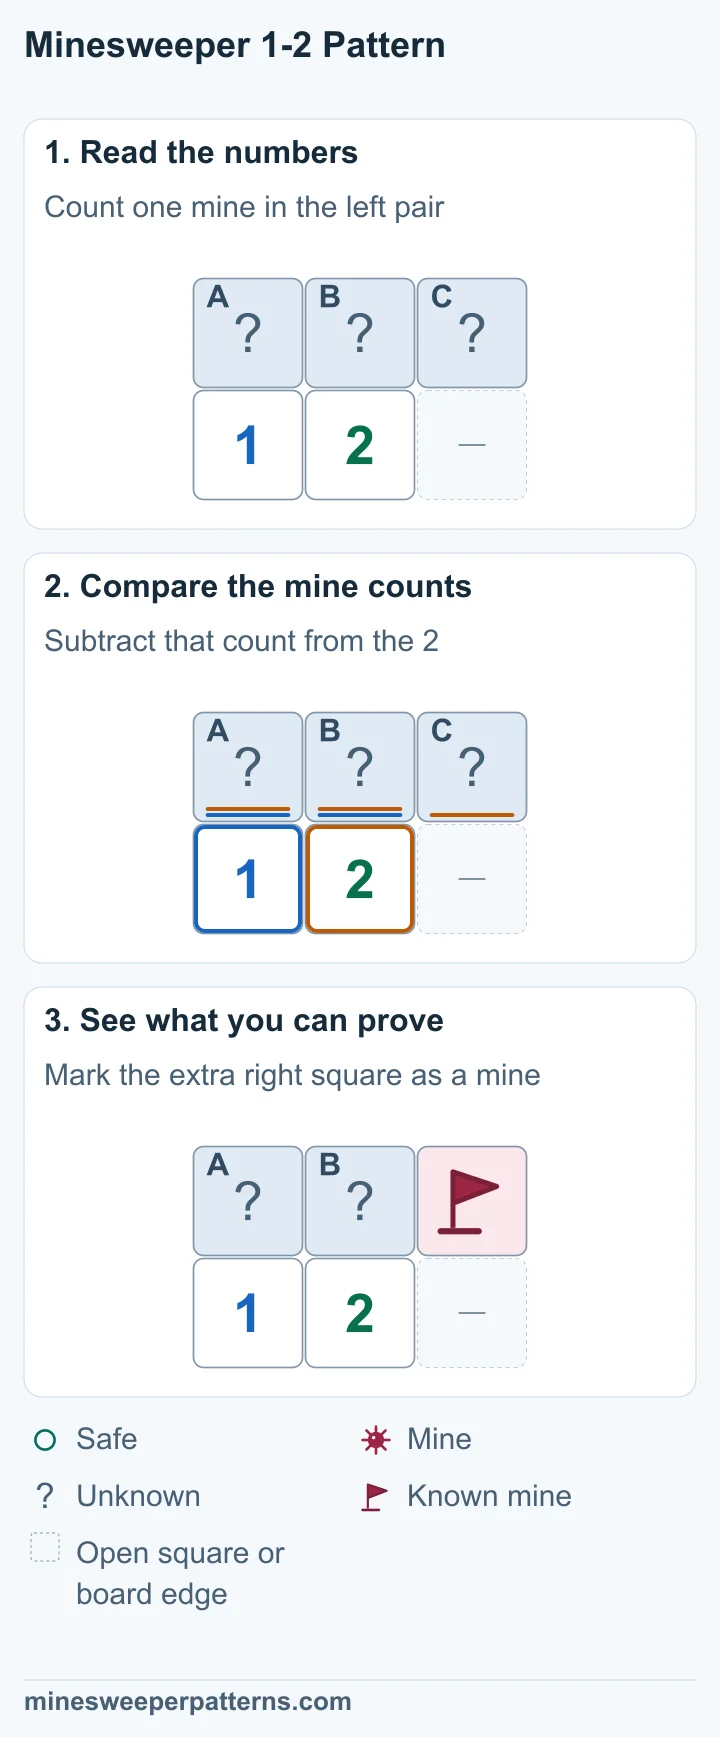
Three covered squares, A, B and C, sit above a 1 and a 2. The 1 touches A and B. The 2 touches all three squares.
A + B = 1 and A + B + C = 2. The 2 needs one more mine than the 1, and only C is outside their shared pair.
A flag marks the mine in the rightmost square, C. A and B remain unknown and hold the other mine between them.
Download imageBoard example
A and B hold one mine. A, B and C hold two mines.
Before
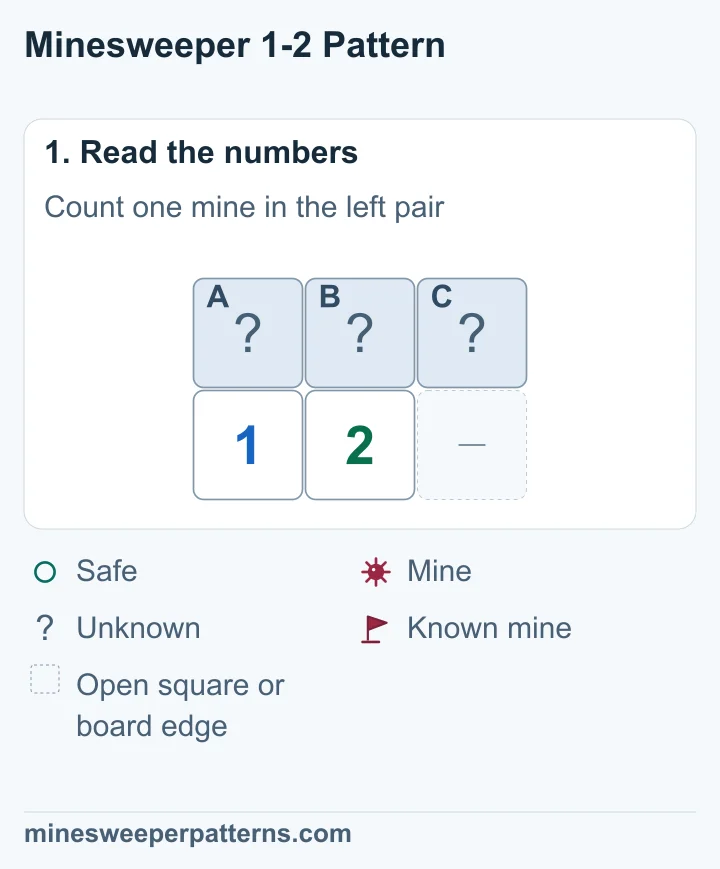
Three covered squares, A, B and C, sit above a 1 and a 2. The 1 touches A and B. The 2 touches all three squares.
After
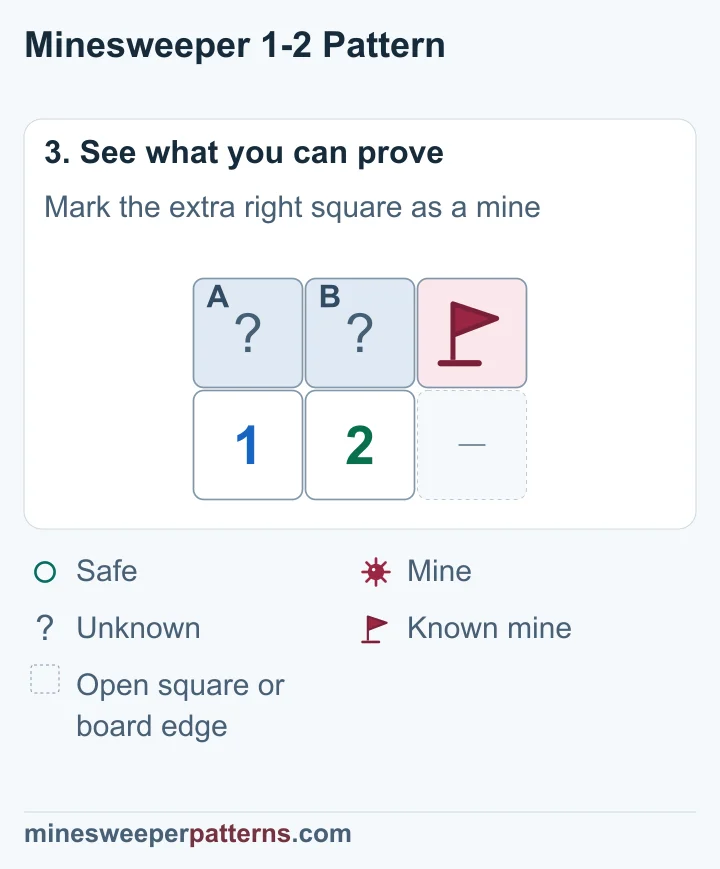
A flag marks the mine in the rightmost square, C. A and B remain unknown and hold the other mine between them.
Why it works
The 2 needs one more mine than the 1. C is its only extra square, so C has that mine. Either A or B could hold the other mine.
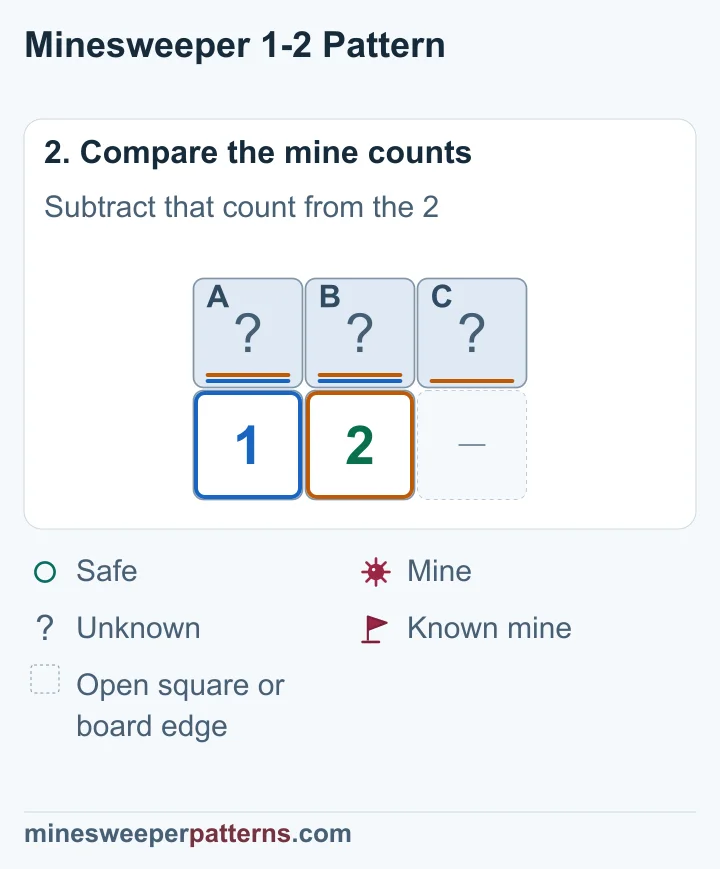
A + B = 1 and A + B + C = 2. The 2 needs one more mine than the 1, and only C is outside their shared pair.
The rule
A, B and C are the only covered squares around these numbers. The left number touches A and B. The right number touches A, B and C. The lower-right square is already open and is left out of the picture.
What to check
Check every square around both numbers, including the corners. The covered squares must match this example. First subtract any known mines from the numbers they touch.
When the extra mine has two possible squares
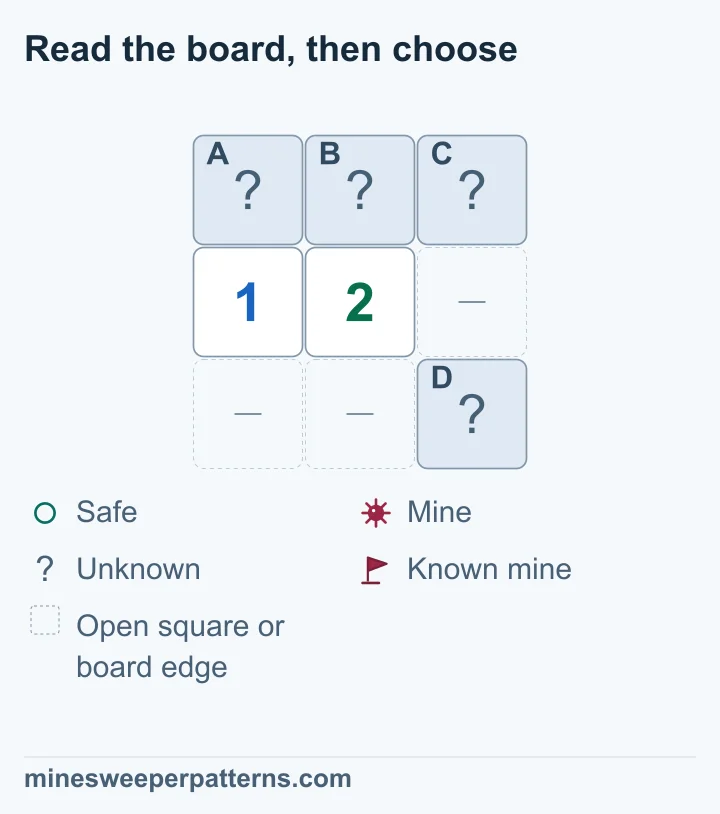
Add a covered square, D, diagonally below and right of the 2. A, B and C still form the top row. The 1 gives A + B = 1, while the 2 gives A + B + C + D = 2. Subtracting leaves C + D = 1. One of that pair has a mine. Either position fits the clues, so both squares remain unknown.
Try this pattern
Use the numbers to choose your next move. Include the corners when you count. Squares outside the picture are open. Each flag marks a known mine.
Select every square you can prove has a mine.
See why
The 2 needs one more mine than the 1. C is its only extra square, so C has that mine. Either A or B could hold the other mine.