See the pattern step by step
Board example
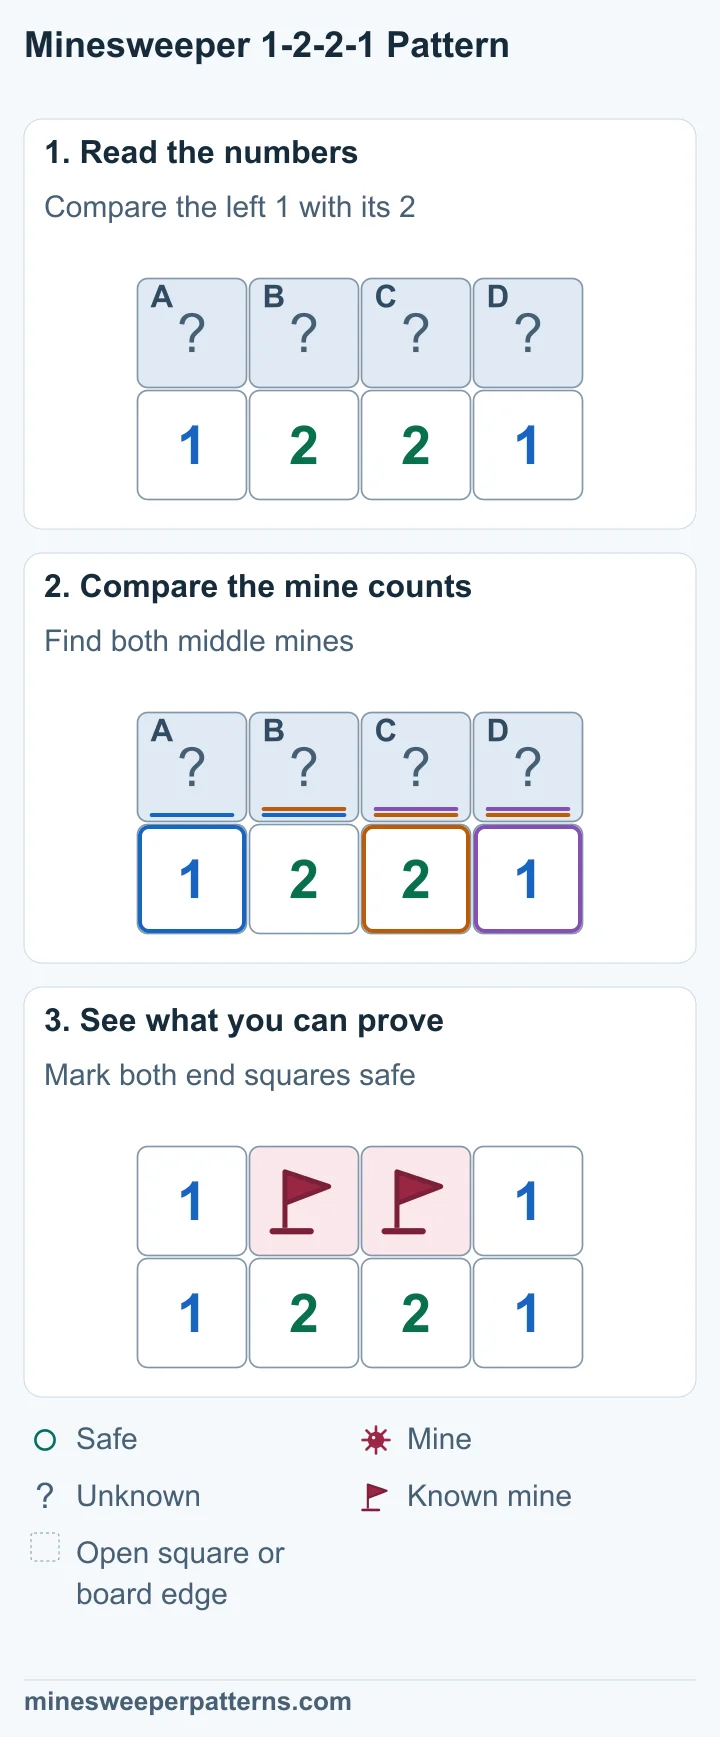
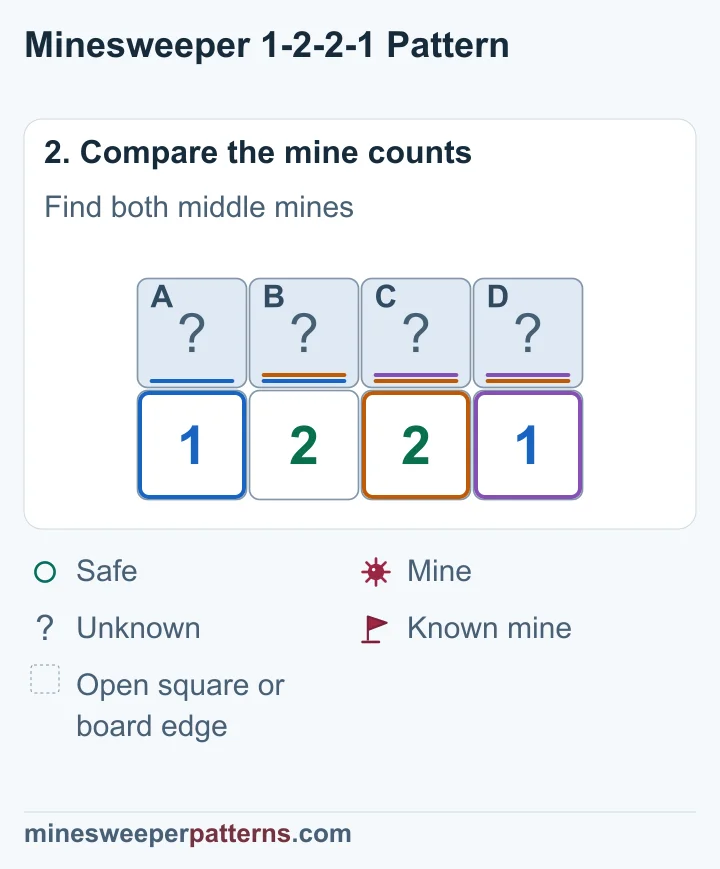
A and B have 1 mine in total. A, B and C have 2 mines. The extra mine must be in C.
Before
After
Why it works
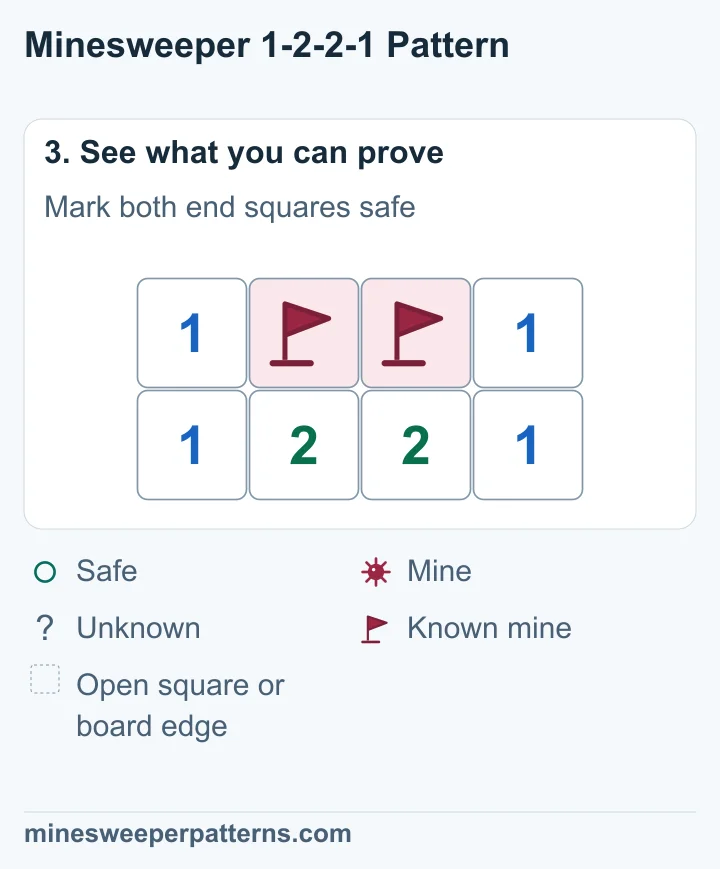
C has a mine, so the right 1 makes D safe. The right 2 counts two mines in B, C and D. C is a mine and D is safe, so B has the other mine. The left 1 then makes A safe. In the picture, A and D both open to show 1.
The rule
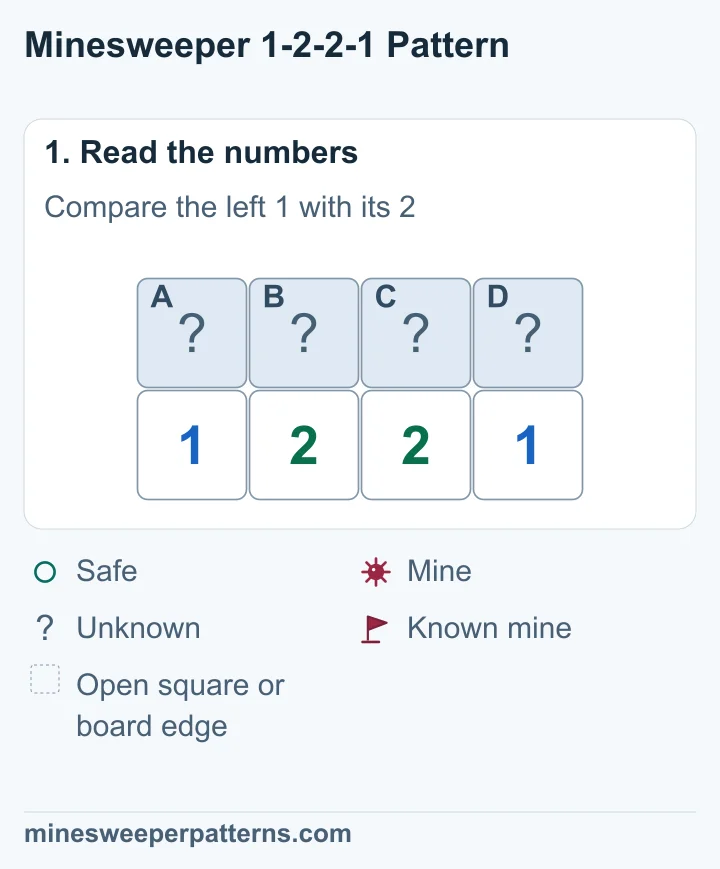
The left 1 counts mines in A and B. The next 2 counts mines in A, B and C. The next 2 counts mines in B, C and D. The right 1 counts mines in C and D. These are the only unknown squares around the numbers. Every other nearby square is safe.
What to check
Check every nearby square, including the corners and the other side. A, B, C and D must be the only unknown squares. Subtract any known mines from the numbers they touch. Apply the pattern when the remaining counts are 1-2-2-1.
Subtract a mine from the clues it touches
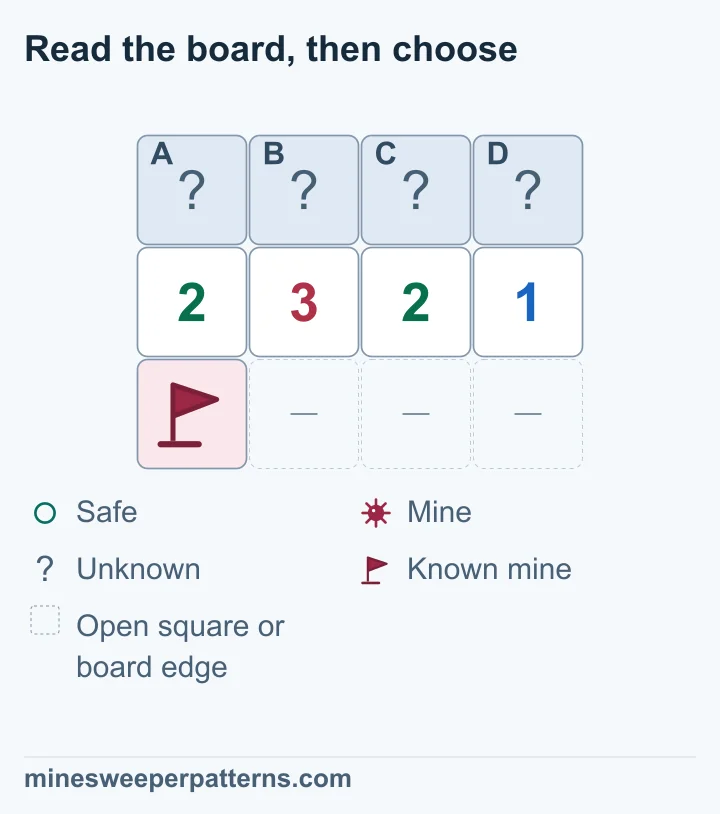
Here the clue row is 2-3-2-1. A known mine below the first clue touches only the first two clues. Subtract 1 from those two numbers. Leave the other counts as they are. The remaining row is 1-2-2-1, so the middle two covered squares above have mines and both end squares are safe. The board still shows 2-3-2-1.
Try this pattern
Use the numbers to choose your next move. Include the corners when you count. Squares outside the picture are open. Each flag marks a known mine.
Select every square you can prove safe.
See why
C has a mine, so the right 1 makes D safe. The right 2 counts two mines in B, C and D. C is a mine and D is safe, so B has the other mine. The left 1 then makes A safe. In the picture, A and D both open to show 1.