Minesweeper 1-1-1 Pattern

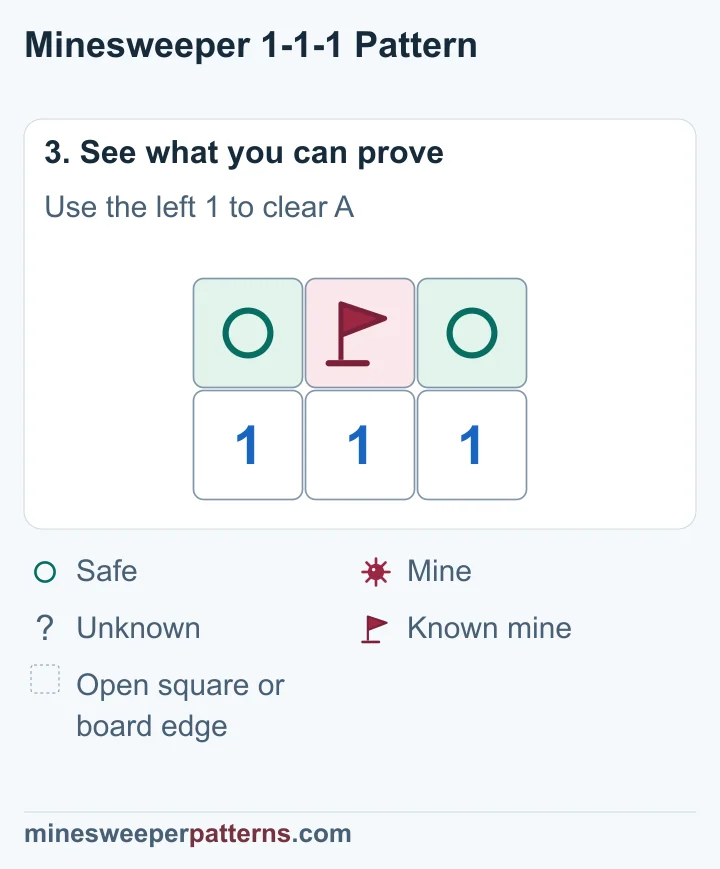
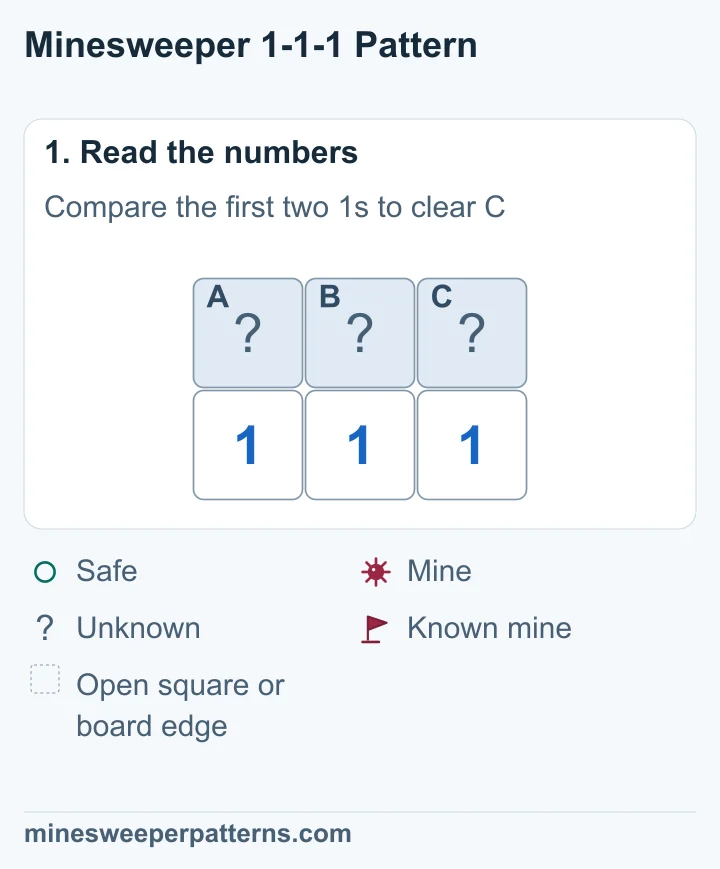
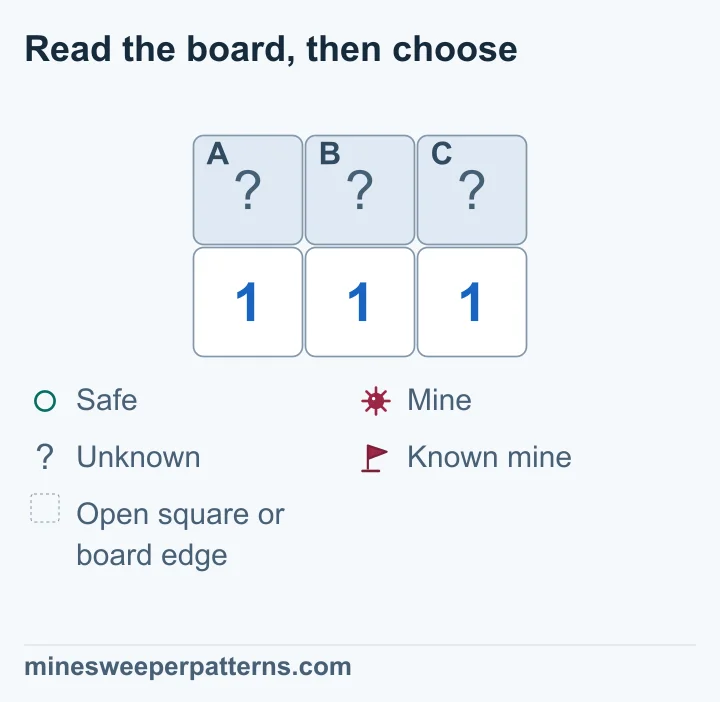
Three 1s sit below three covered squares. Call the covered squares A, B and C from left to right. The middle square has a mine. Both ends are safe.

See the pattern step by step
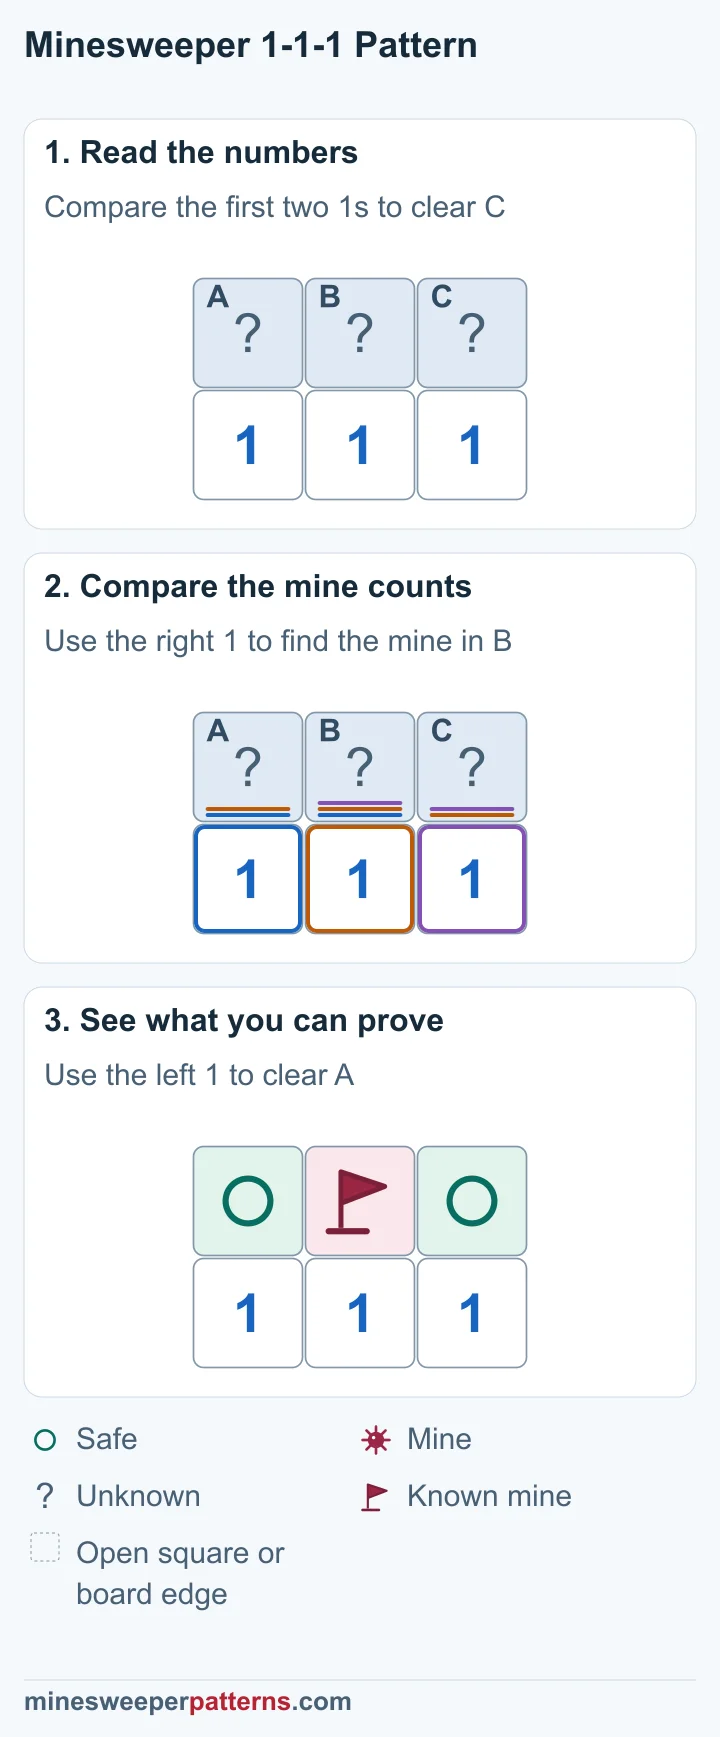
Comparing three 1s proves the top middle mined and both ends safe, shown with a flag and circles.
Download image

Board example

The left 1 tells us A + B = 1. The middle 1 tells us A + B + C = 1. Here, each letter counts as 1 for a mine or 0 for a safe square.

Before
Three covered squares sit above three 1s, with the middle clue touching all three covered squares.

After

A flag marks the top middle mine, and circles mark both top ends safe.

Why it works

The middle 1 needs the same mine as the left 1. Its extra square, C, is safe. The right 1 then needs its mine in B. With B found, the left 1 makes A safe.
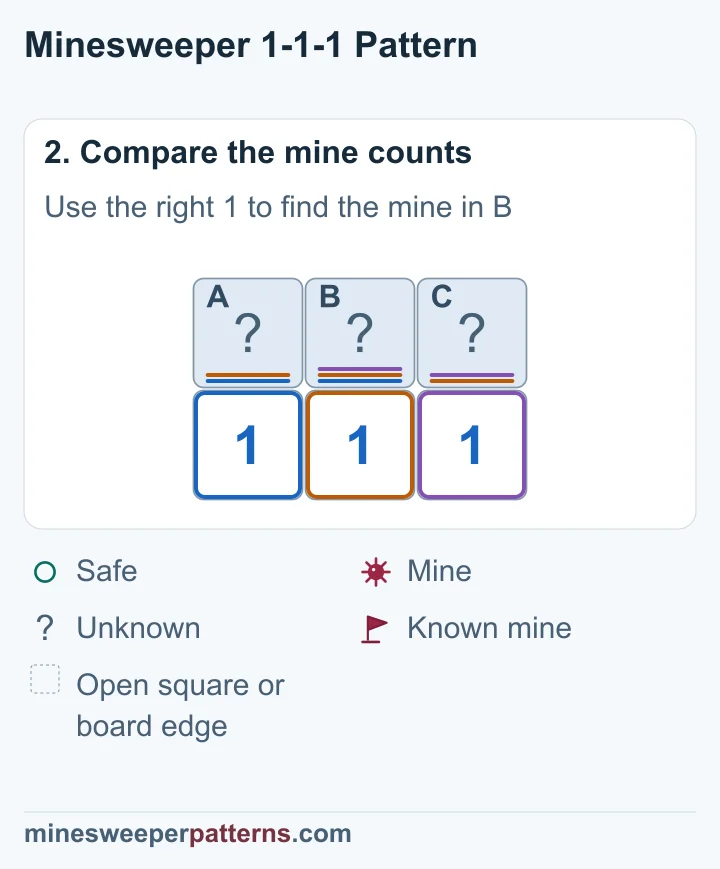
Comparing the shared groups proves the top middle mined and both top ends safe.

The rule

The left 1 touches A and B. The middle 1 touches A, B and C. The right 1 touches B and C. These are all the unknown squares around these numbers.

What to check

Check both ends of the row and the squares on the other side of the numbers. All three unknown squares must have the positions shown. Subtract any known mines from the clues they touch before you compare the remaining counts.
Read the board, then choose

The left 1 touches A and B. The middle 1 touches A, B and C. The right 1 touches B and C. These are all the unknown squares around these numbers.

Comparing three 1s below three covered squares proves the middle mined and both ends safe.

Choose a covered square. Then decide whether it is safe, has a mine, or needs more information.

A
B
C
Why this answer is correct

A: Safe · B: Mine · C: Safe

The shown covered squares are the only unknown squares around these numbers. Gaps stand for open squares or the board edge. Check every nearby square before you apply the result. Flags in these examples mark known mines.

Privacy

Your game records stay in this browser on this device.